SpiritHalloween

Monday

Ectomobile Ecto-1 and the right side of the 2010 display

Ecto-1 Ectomobile from Ghostbusters paper model. The trick or treaters are paper cutouts from clip art.

The Disney Liberty Square Haunted Mansion in back with the Up roof in front.
Notice the stick on ghosts on the window glass

Here are two shots showing the right side of the Halloween Village window display. The top image shows the Ectomobile from the Ghostbusters movies, along with the only un-haunted house in the display, the house from the animated movie Up (well almost un-haunted, we did add a ghost coming out of the chimney).

The second picture shows the area behind the Ectomobile, on the left is our larger ceramic candle holder (with a color changing light inside) and on the right the Disney Haunted Mansion from Paris Disney, Liberty Square. The ghosts you see flying in front of the display are a couple of gel stickies stuck to the inside of the glass. This brings the viewer right up to the ghosts, or the other way around.

Sunday

Stay Puff Marshmallow Man positioned in the village

Stay Puff Marshmallow Man Paper Model from Ghostbusters.
Here is a nice shot of the Stay Puff Marshmallow Man from Ghostbusters. In a previous post I talked about making this paper model. Here he is in his final position in the Halloween Village window display. The haunted house that he is terrorizing is a ceramic candle holder, you put the candle in from the back and the windows light up. The Phantom Manor is in the back and on the far left is the Bates House. You can just see Slimer on the right. The bridge in front is another store bought item and the large haunted house on the top right is another ceramic candle holder. That house was what started this whole hobby of creating Halloween Villages.

The Bates House in the Halloween Village


Here is the Bates House  from Psycho in its Halloween Village display location. To the left is another haunted house. Several of the Ghosts you see are simply paper cutouts from clip art. The fence along the front is a store bought Halloween Decoration, same for the two Trick or Treaters to the right of the fence. Running up the walkway is a line of lighted Skulls, also store bought. There are a few nice items in the craft stores every year for Halloween, and we have been buying one or two items each year, giving us a nice collection of additional decorations to spice up our village. We mostly look for accessory items, like fences and bridges. The main structures and decorations are always hand made.


Here is the same view with the special effects lighting. The purple color is from the black light, you can now easily see the Phantom Manor in the background lit by street lights. Notice how the paper in the Bates House glows under the black light. Basically, the lighter the area (less ink) the more the glowing affect. Blank Paper glows nicely, so anything made out of paper glows well under black light. Real easy to see the lighted skulls along the walkway in this image as well.

Phantom Manor with lighting

Here is the Stay Puff Marshmallow Man and the Phantom Manor in the display with lighting effects.


There is a black light in front of the whole display, some color changing lights on the sides (lighting StayPuff green on the left at the moment) and some practical street lights. You can see two street lights above the entrance gate to the Phantom Manor in the back. It really all comes down to the lighting, although I put a lot of time and effort into the models for my displays, even basic models and toys look great with good lighting.

Saturday

Adding Phantom Manor to Window Display

Here is the Phantom Manor Paper Model added to our Window Display Halloween Village. This shot is after all of the additional detail items have been added around the model.

Phantom Manor Paper Model

Notice the Staypuff Marshmallow Man in the foreground. The ghost above the gate is a stick-on from the scrap book section of Michaels Arts and Crafts, the Trick 'n Treater in the gate is a paper cutout from some clip art. The Skeleton Bear on the left is a small stuffed toy. You can just make out the camouflage drop cloth beneath the Skeleton Bear that I laid down over the entire table to act as a ground cover. These drop cloths work great, once you put some stuff on them and light the display, they just blend in. 

Tuesday

The House from Up is added to the neighborhood

The house from the Disney movie Up
Just for variety I added one more house to the neighborhood. I found this great Up house over at Paper Replika that fit in perfectly size wise with the rest of the houses. A very nicely designed model, with just a couple of tricky bits, especially the posts around and above the porch, each of those is a separate piece. This last house adds a nice bit of whimsy to the display.

Monday

Disney Haunted Mansion Paper Models

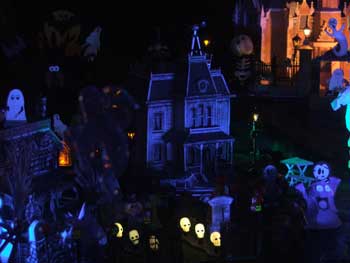
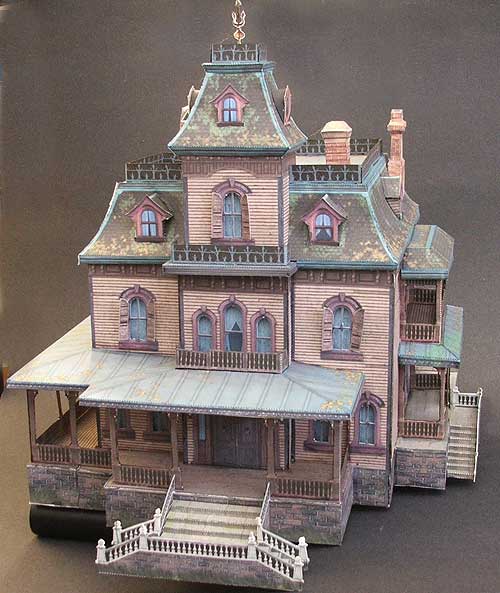
Haunted Mansion Disney France

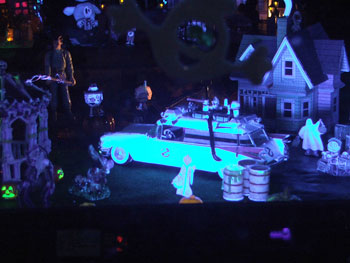
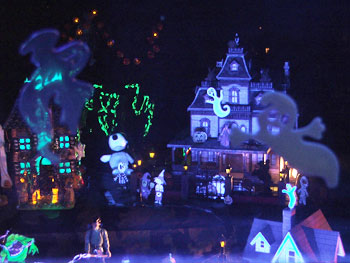
There are several great buildings over at Haunted Dimensions (link to right) based around attractions at Disney and Universal Studios. We used 3 different buildings for our haunted neighborhood. This first model is of the Haunted Mansion in Paris Disney. A wonderful model that is about a foot on each side. This model only needed a few minor additions for our display.
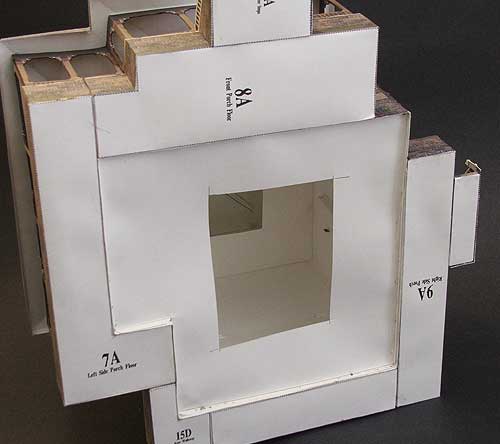
Bottom of model
First, during construction, I cut a whole in the bottom of the floor which made it easier to build the model. This allowed me to put my hand inside to apply support while assembling the mode.

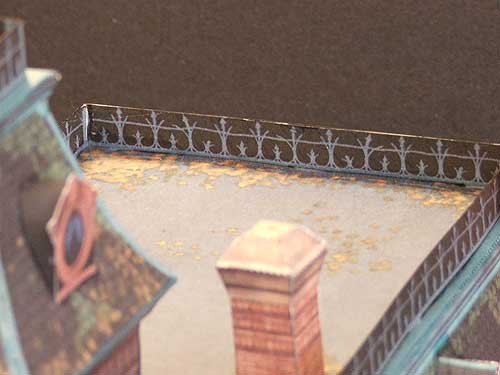
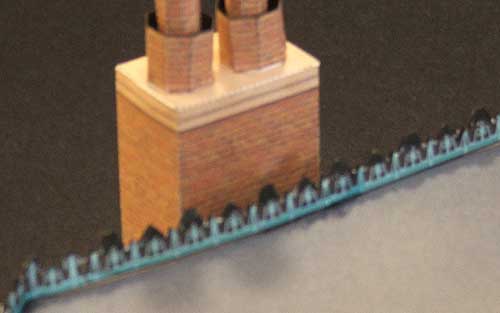
Showing outside and inside of railings on roof.
Next up were the railings, in the model there were two versions. One version was printed on clear acetate and the second was printed on the same cardstock as the model. The cardstock version ended up looking great from the outside, but the back of the railing (visible here on the roof) was just white. So I printed up a second set of railings and glued those to the back, making the railings two sided and giving it a nice finished look.

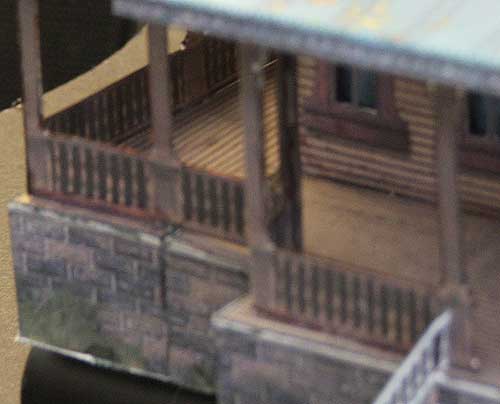
Porch area, showing finished inside railing
I encountered the same unfinished problem on the porch, so I used the same technique to finish the insides of the porch as well as the outsides. This is a technique I copied from the Ravensblight models (see previous post) which left no white paper showing anywhere.

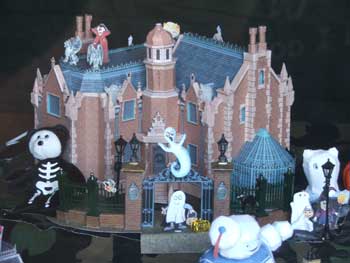
Disneyworld Haunted Mansion model
Next I made the model of the Disneyworld Haunted Mansion in Florida. This is another fine model from Haunted Dimensions.

Disneyworld Haunted Mansion Roof Railing
This model had the same problem of the white unfinished inside of the roof railing, so once again I simply printed out two copies of the railing and made the railing two sided, problem solved.
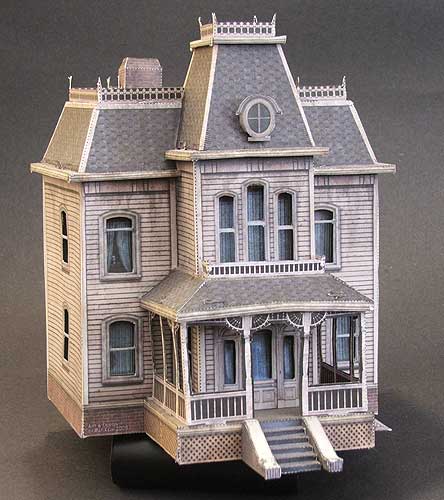
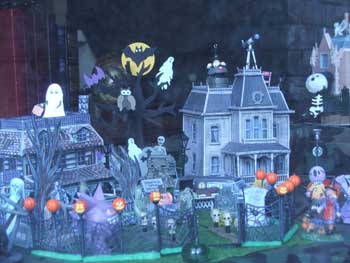
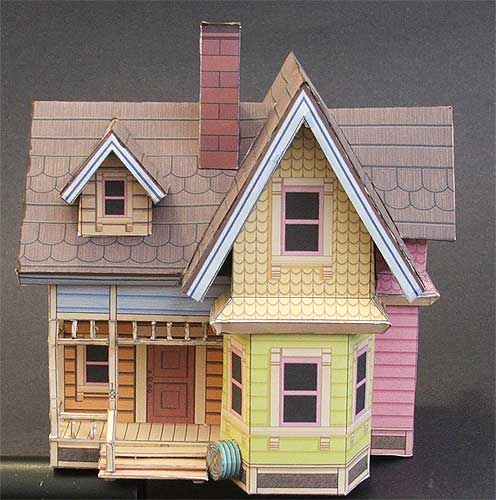
Bates House
The final model from Haunted Dimensions is the Bates House from Universal Studios Tour (Psycho movie). The porch railings were finished in the same manner as the previous models.

Haunted Dimensions also has a wonderful model of the Disneyland Haunted Mansion in California, but I am saving that one for next year.